
How do I use the paint pens? Follow the method described below to ensure your midsoles are painted properly.
Step 1. Shake before use
Shake the paint pen well before use.
- If it is your first time using the SneakersER Premium Midsole Paint Marker, press the tip of the marker on a piece of cardboard several times to ensure that the paint enters the tip.
- Tip: tape up your shoes before you start. This way the paint does not end up in unwanted places. Masking tape works fine.
Step 2. Prep midsoles
To ensure that the paint adheres well, it is important that your midsoles are clean, dry and dust-free. Prepare the midsoles with one of our deglazers to first remove the old paint from your sneakers. However, this is a precise job and, if used incorrectly, can damage your rubber soles. The use of this product is therefore entirely at your own risk.
- Tip: If you do not want to work with the deglazer, intensive scrubbing with the SneakersER Professional Cleaning Solution is sufficient to get started. However, we do recommend the use of deglazer.
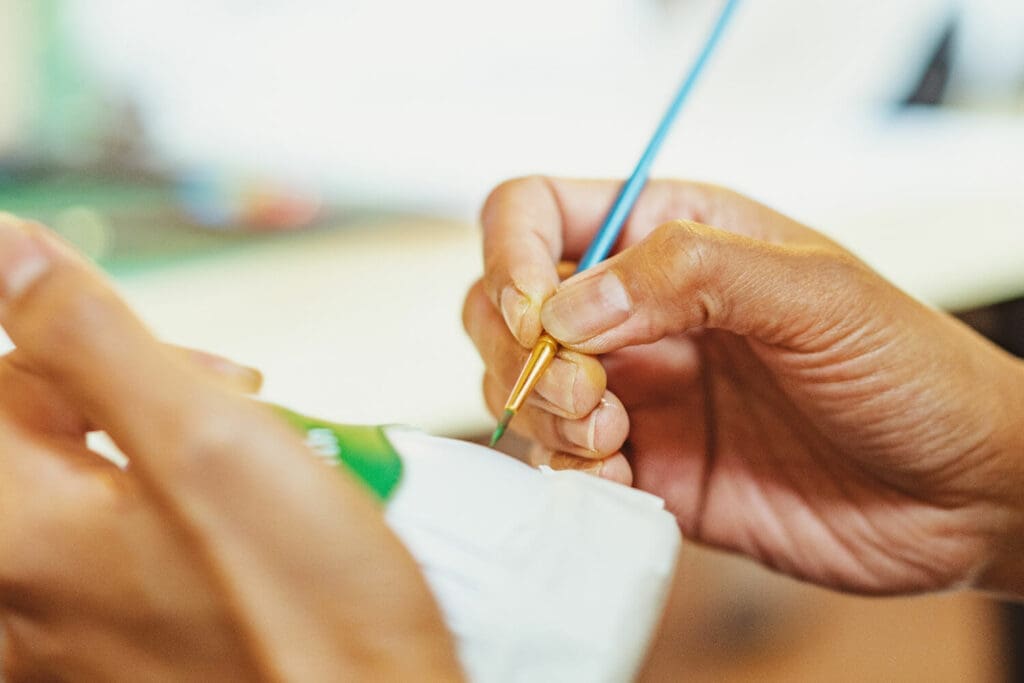
Step 3. Dyeing
Apply a thin layer of paint with the Premium Midsole Paint Marker.
Then let the shoes dry so that the paint can adhere properly. We recommend waiting an hour between coats.
- Apply several thin coats if necessary. Repeat this step until you get the desired result.
- Tip: do not apply the paint too thickly in one go. That will lead to a less attractive result.
- Tip: try to distribute the paint evenly with long strokes. This gives fewer stripes than if you make short movements.
Step 4. Another protective layer
- Tip: the most commonly chosen finisher for midsoles is the matte finisher.
- Tip: The Angelus brand 4-coat or Liquid Kicks finishers are most recommended for midsoles.
General tips
- Do not handle the shoes in a dusty environment. This ensures that the paint does not remain nice and even on your midsoles.
- If it is your first time using the SneakersER Premium Midsole Paint Marker, press the tip of the marker on a piece of cardboard several times to ensure that the paint enters the tip.
- Always try to do a complete midsole in one go to avoid color differences. Think of it like painting a wall, as long as it is wet, it dries evenly.
- Read the instructions for each paint pen carefully. Not all of them are suitable for all materials.
- Please note that this is not a permanent fix. This paint will also become less beautiful after wearing.
- You can also do repaints with the paint pens of both the upper and midsoles of your sneakers.
Frequently asked questions about paint pens
To ensure that the paint adheres well, it is important that your midsoles clean, dry and dust-free .
Treat the midsoles with one of our deglazers to first remove the old paint from your sneakers. This is a precise job and, if used incorrectly, can damage your rubber soles. The use of this product is therefore entirely at your own risk.
That depends on a number of factors including:
- The original color of your midsole.
- How many layers do you apply until you get the desired result?
- Which paint pen you purchased.
- Whether you have completed all the steps as we have described.
All colors in our range are an interpretation of the brands that created them. It is not possible to exactly match all models over the years. So you may have to mix the colors yourself to get the color you are looking for.
So always try it out on a small area first
This depends on several factors such as
- The weather conditions
- The activities done with the shoes
- How many layers of paint have been applied
- The type of sole. A hard sole, for example a Nike Air Force 1, moves less when walking than a soft sole, for example an adidas Ultraboost.
- The correct execution of all steps
First of all, don't panic! While the paint is still wet, you can gently wipe it off smooth surfaces with a damp cloth. Be careful not to smudge the paint!