De ultieme handleiding
voor het verven van midsoles
Een stap-voor-stap handleiding
Hoe verf ik mijn midsoles? Een stap-voor-stap handleiding
Wil je jouw sneakers een frisse, unieke look geven? Het verven van midsoles is een fantastische manier om dit te bereiken! Hieronder volgt een gedetailleerde handleiding voor het verven van midsoles, waarbij we ons richten op de essentiële stappen, tips en tricks. Perfect voor zowel beginners als ervaren sneakerliefhebbers. Hier leren wij je midsoles verfen en geven wij HET antwoord op de vraag "hoe verf ik mijn midsoles?"
Benodigdheden:
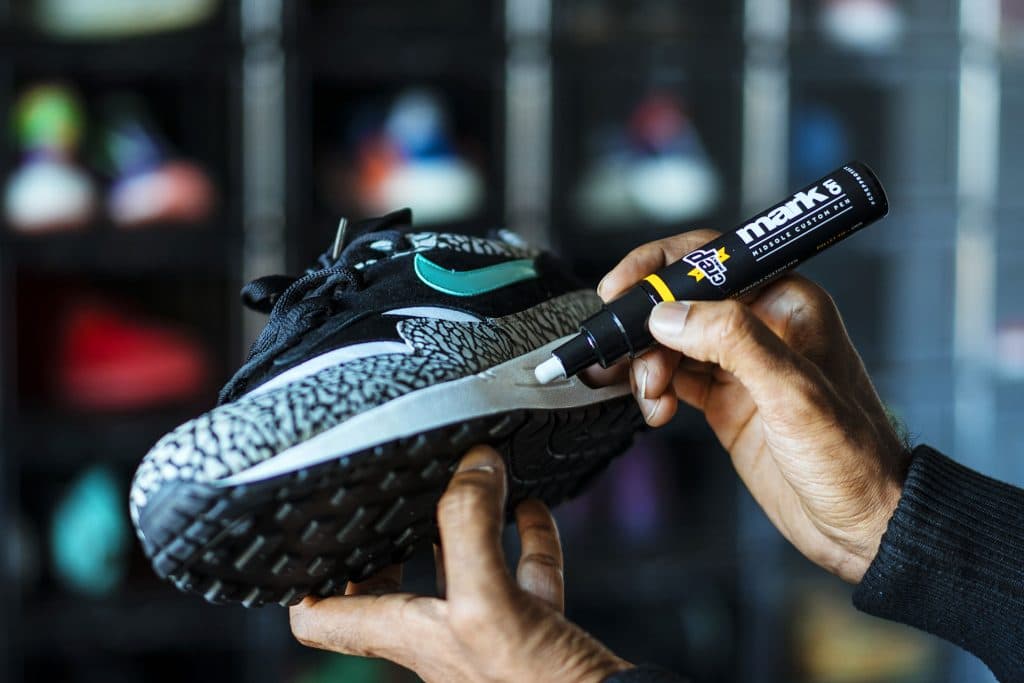
- Kwaliteitsverf die geschikt is voor midsoles (Angelus, SneakersER, Alpha 6)
Let op! Sommige verf moet je mixen om het geschikt te maken - Sneaker Essentials Essential Deglazer
- Katoenen ballen en wattenstaafjes
- Maskeertape
- Fijne detailpenselen en/ of airbrush
- Handschoenen voor bescherming
- Finisher voor een matte, glanzende of satijnen finish.
Hoe prepareer ik de midsole?
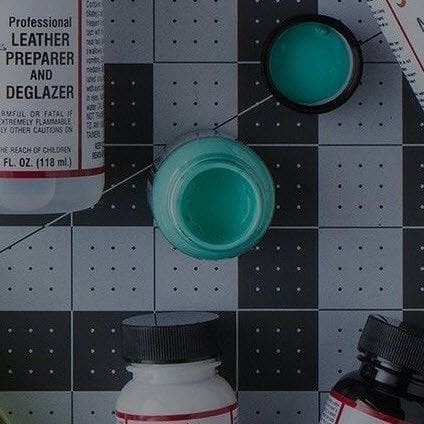
Stap 1: Voorbereiding
- Schoonmaken en Strippen: Begin met het verwijderen van oude verflagen. Gebruik de Essential Deglazer om de verf of fabriekslaag voorzichtig te strippen. Werk in secties en zorg ervoor dat de volledige oppervlakte bewerkt wordt. Neem hier je tijd voor!
- Afplakken: Gebruik maskeertape om de gebieden die je niet wil schilderen, zoals de bovenkant van de sneaker en de onderzool, af te plakken. Dit zorgt voor strakke en professionele lijnen. Je kan hier de maskeertape voor gebruiken.

Stap 2: Het schildersproces
- Kleurenkeuze: Beslis welke kleuren je wil gebruiken. Voor multicolored midsoles, plan je ontwerp vooraf.
- Dunne Lagen: Het aanbrengen van meerdere dunne lagen is cruciaal. Dit voorkomt scheuren en zorgt voor een duurzamere afwerking. Laat elke laag volledig drogen voordat je een nieuwe laag aanbrengt.
- Detailwerk: Gebruik een fijn penseel voor gedetailleerd werk en strakke randen. Wees geduldig en nauwkeurig voor het beste resultaat.
- Secties Afplakken: Gebruik tape om verschillende kleursecties te scheiden. Zorg ervoor dat de verf droog is voordat je tape aanbrengt om te voorkomen dat de verf eraf komt.
- Basislaag: Begin met de lichtste kleur als je basis. Dit is vooral belangrijk als je werkt met transparante of semi-transparante kleuren.
- Blenden: Als je kleuren wilt blenden voor een gradient effect, werk dan snel en meng de kleuren terwijl ze nog nat zijn voor een soepele overgang.


Stap 3: Afwerking
- Laatste Controles: Controleer de midsoles op oneffenheden of onbedekte plekken. Werk deze bij met een klein penseel. Zorg er ook voor dat de kleurintensiteit overal gelijk is.
- Afwerken: Gebruik een finisher voor een beschermende toplaag. Kies uit matte, glanzende of satijnen finish afhankelijk van het gewenste uiterlijk. Alle finishers zijn hier te vinden.
Stap 4: Laatste controle en onderhoud
- Verwijder de maskeertape voorzichtig. en laat de sneakers volledig drogen voor gebruik.
Tips voor een perfect resultaat
- Oefen eerst op een oud paar sneakers om vertrouwd te raken met de materialen en technieken.
- Bekijk tutorials en volg workshops om je vaardigheden te verbeteren.
- Haast je niet; zorgvuldigheid leidt tot het beste resultaat.
- Gebruik kwaliteitsmaterialen voor een langurig resultaat.
Midsoles verven
Veelgestelde vragen
Hoelang duurt het voordat de verf droog is?
De droogtijd varieert, maar reken op minstens 20-30 minuten per laag. je kan het proces versnellen met een heteluchtpistoolof fohn.
Is het nodig om een finisher te gebruiken?
Kan ik elk soort verf gebruiken voor mijn midsoles?
Nee. Het is belangrjk om speciale midsole-verf te bruiken die flexibel blijft en goed hecht aan de midsoles. Je vindt alle midsole verf hier.
Je kan ook verf van Angelus of Alpha 6 gebruiken voor midsoles. We raden echter SneakersER verf aan voor midsoles.